

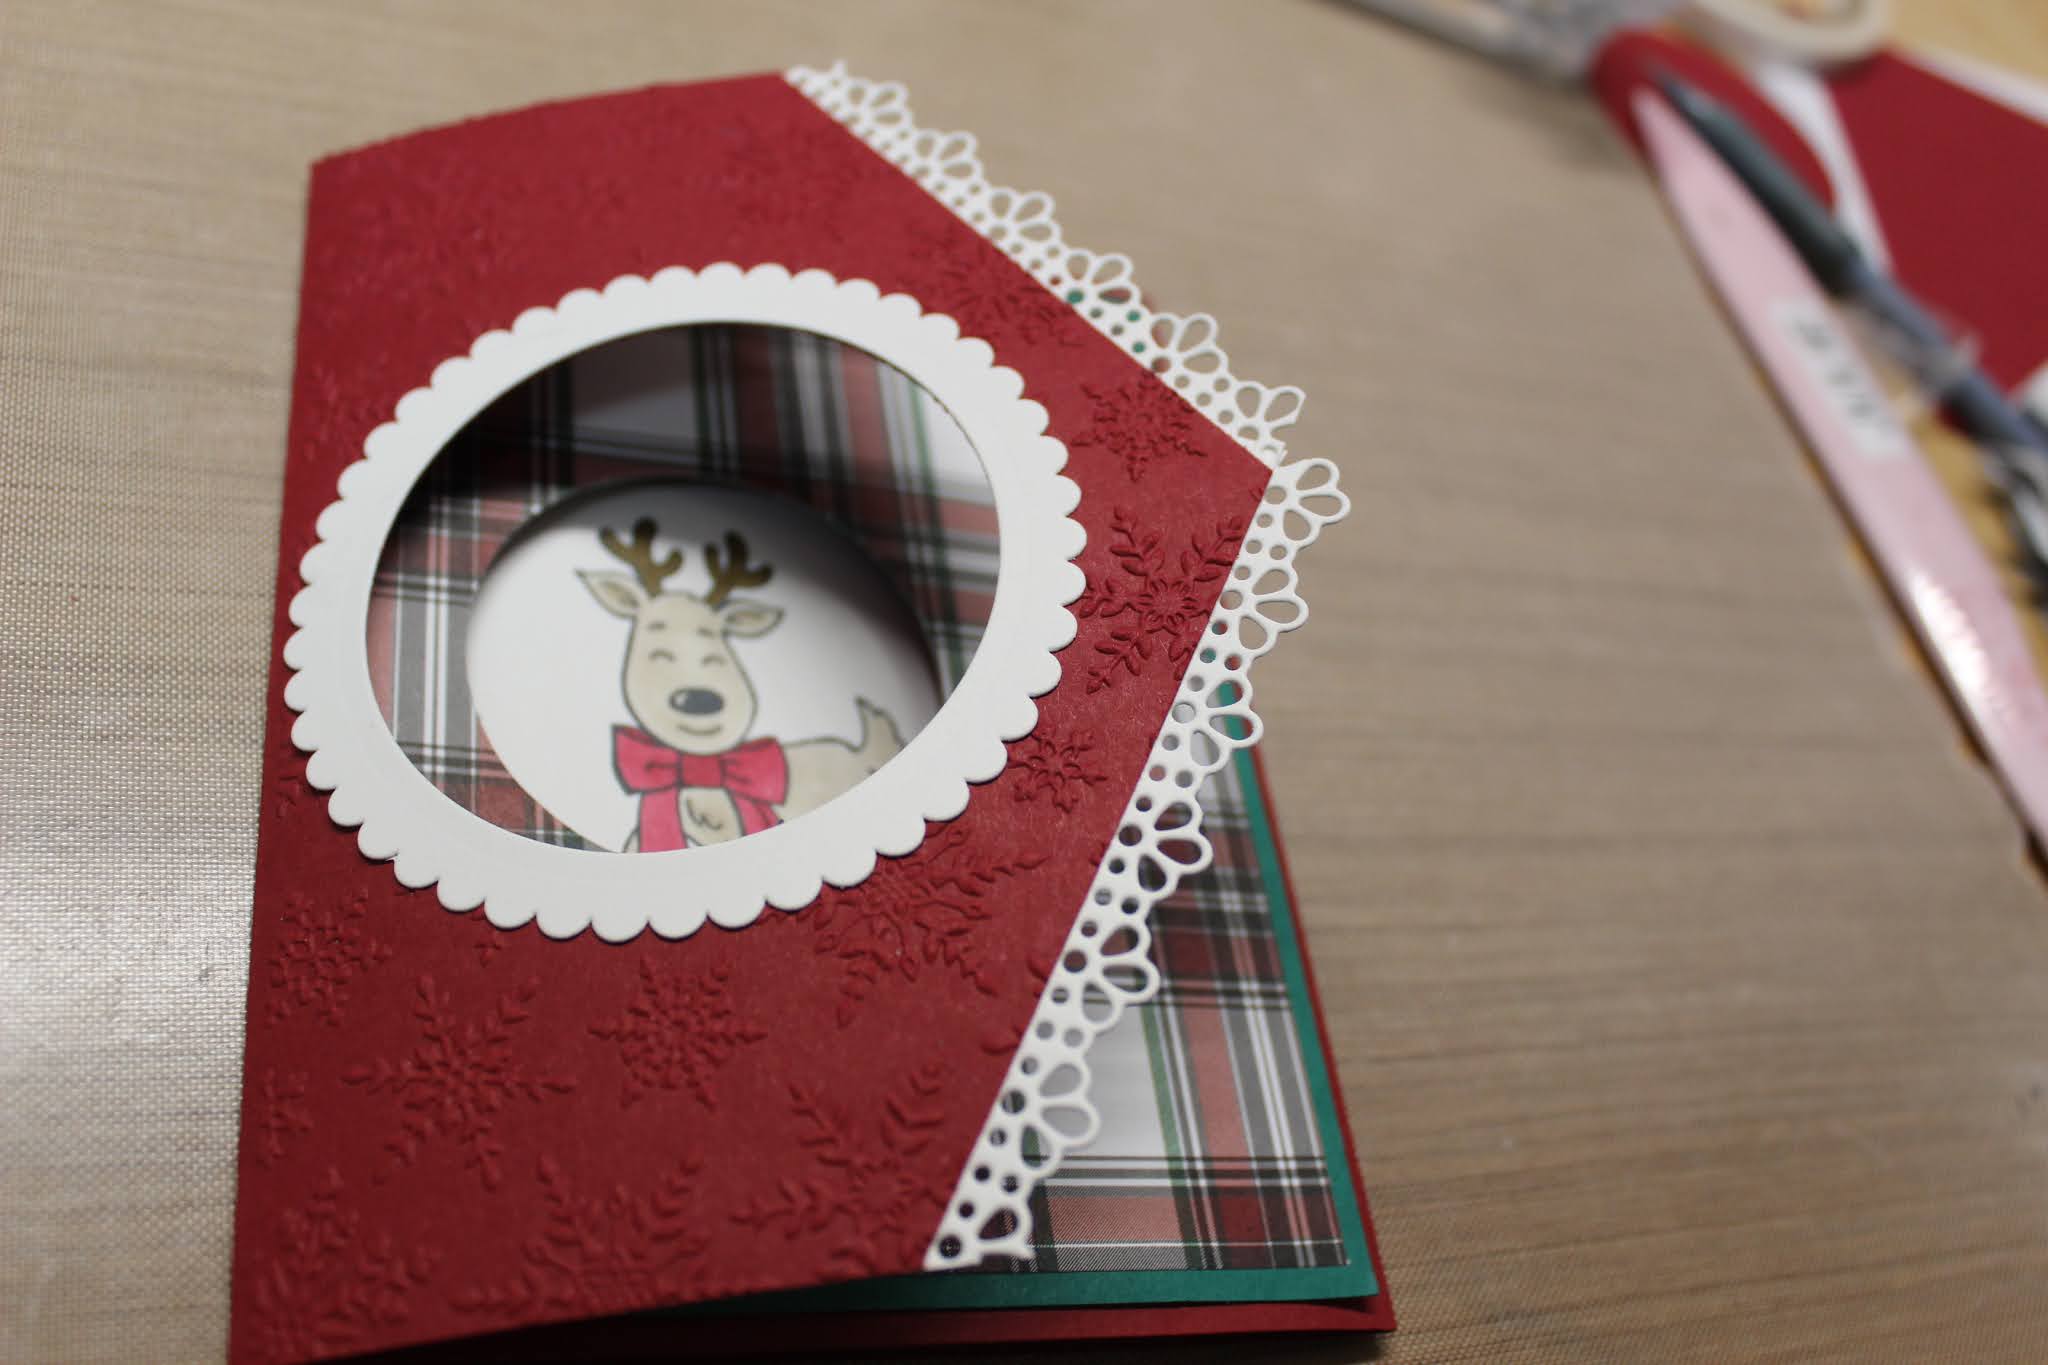
I got this idea from Bright Acres Creations that made this fun fold card using the Snow Wonder Stamp set by Stampin Up® and the Snowflake Splendor Designer Series paper. As soon as I saw the fun fold I knew I wanted to use the “Warm and Toasty” Stamp set by Stampin UP® and the “Plaid Tidings” designer series paper. Such a cute idea for a card.
I just love the deer in the peep hole! Plus I really like the Plaid Tidings Designer series paper it really pops in this card!
Please don’t be intimidated by the number of steps in this card it’s really not that hard and goes together quicker then it looks.
You will love it when it’s done. If you try it leave me a comment below and let me know how it went!
Don’t forget to follow my blog just add your email to the right where it say’s Follow Me.
Ok so lets get going here are the instructions:
Card base and cuts: (DSP = Designer Series Paper)
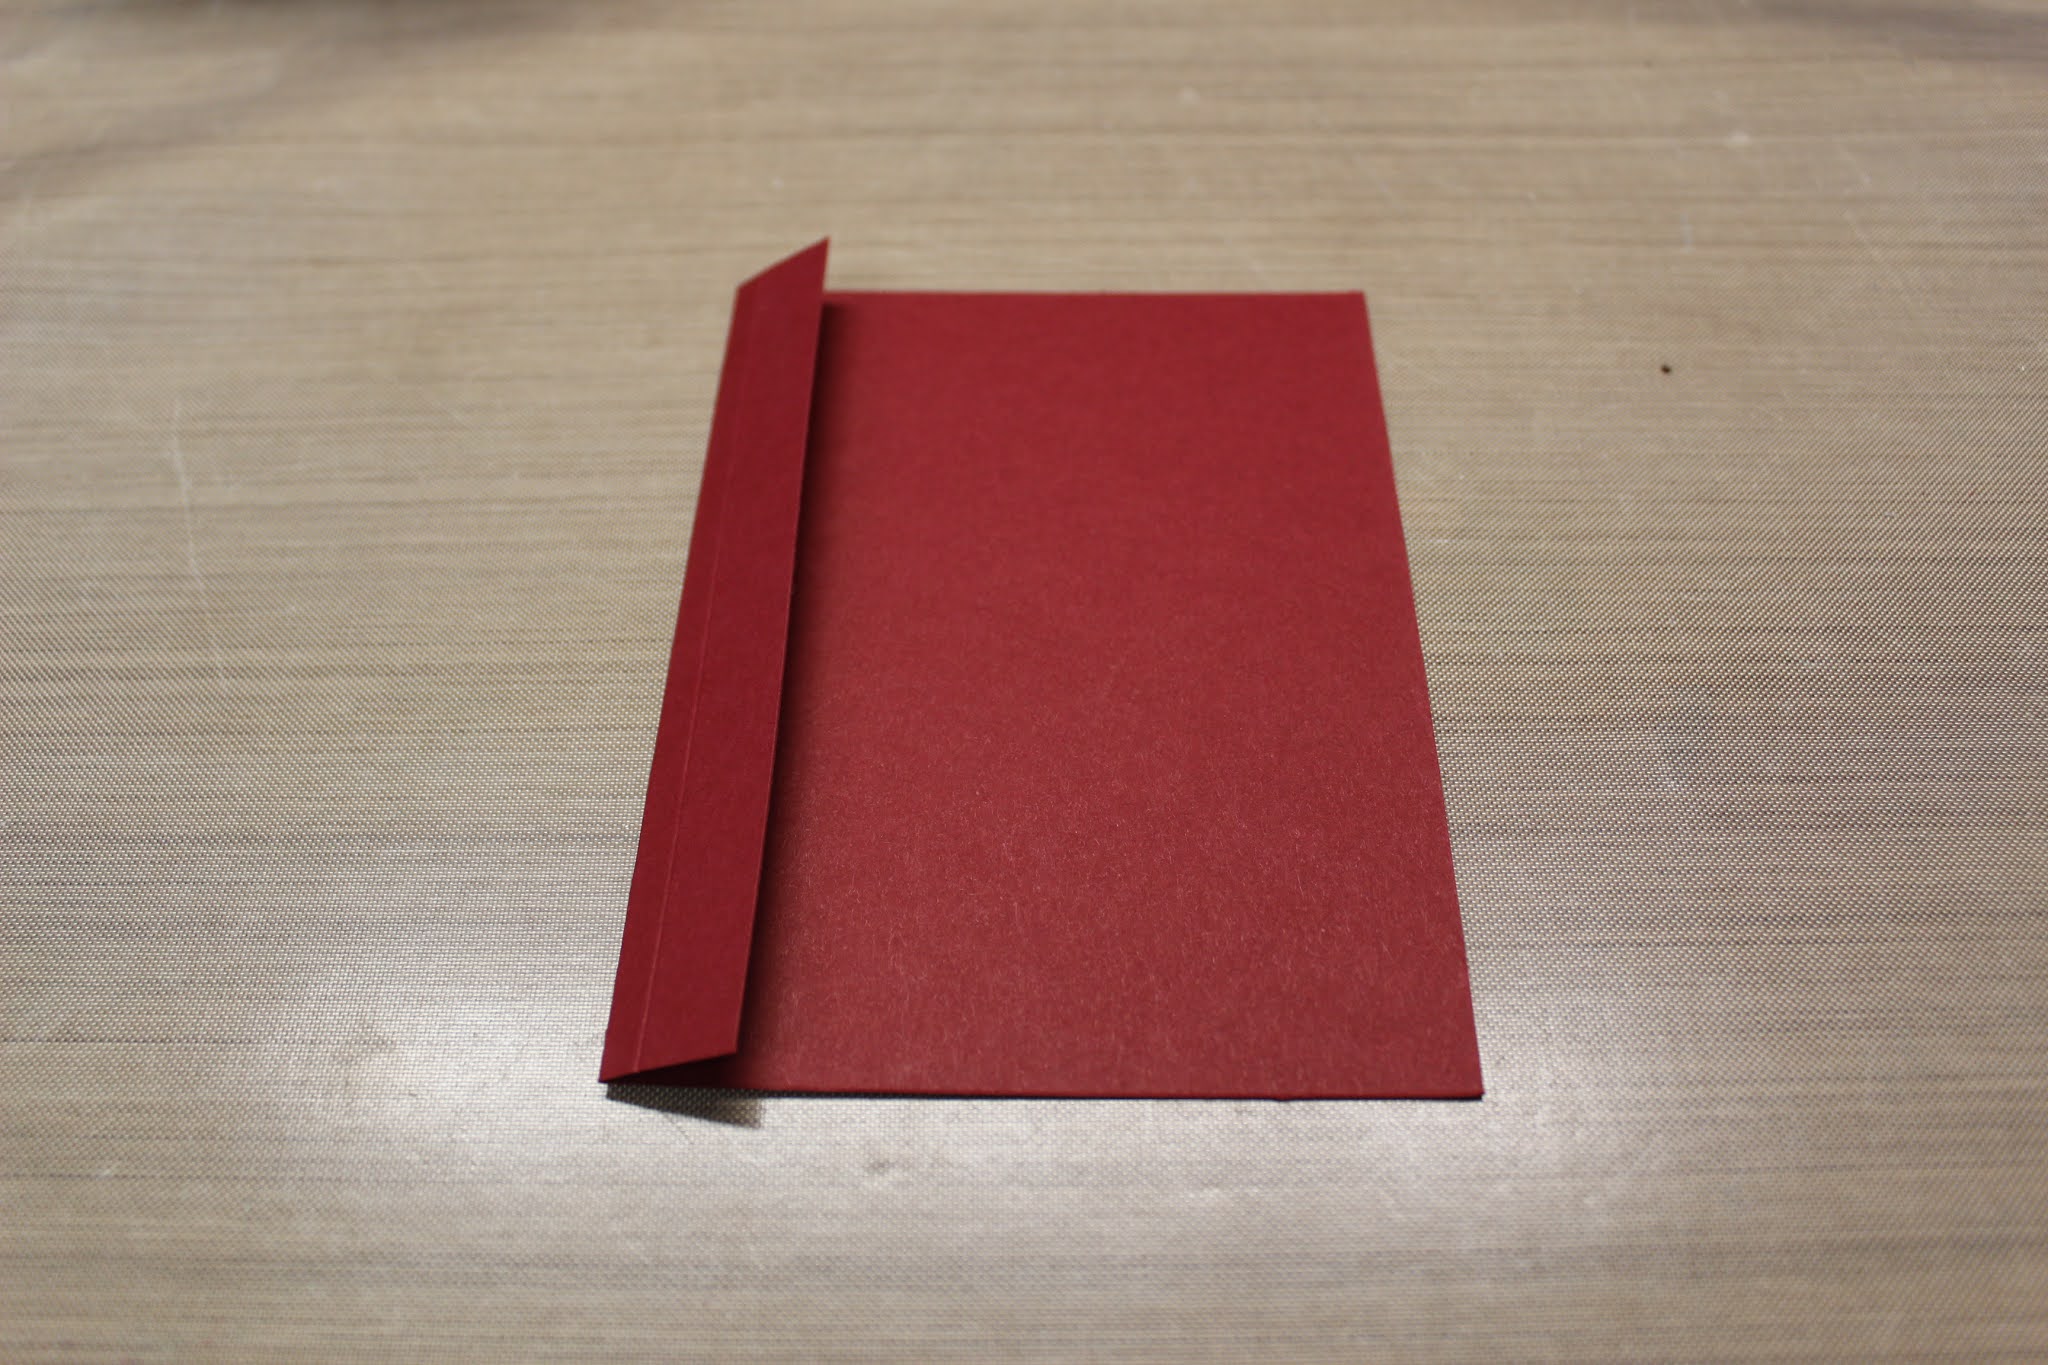
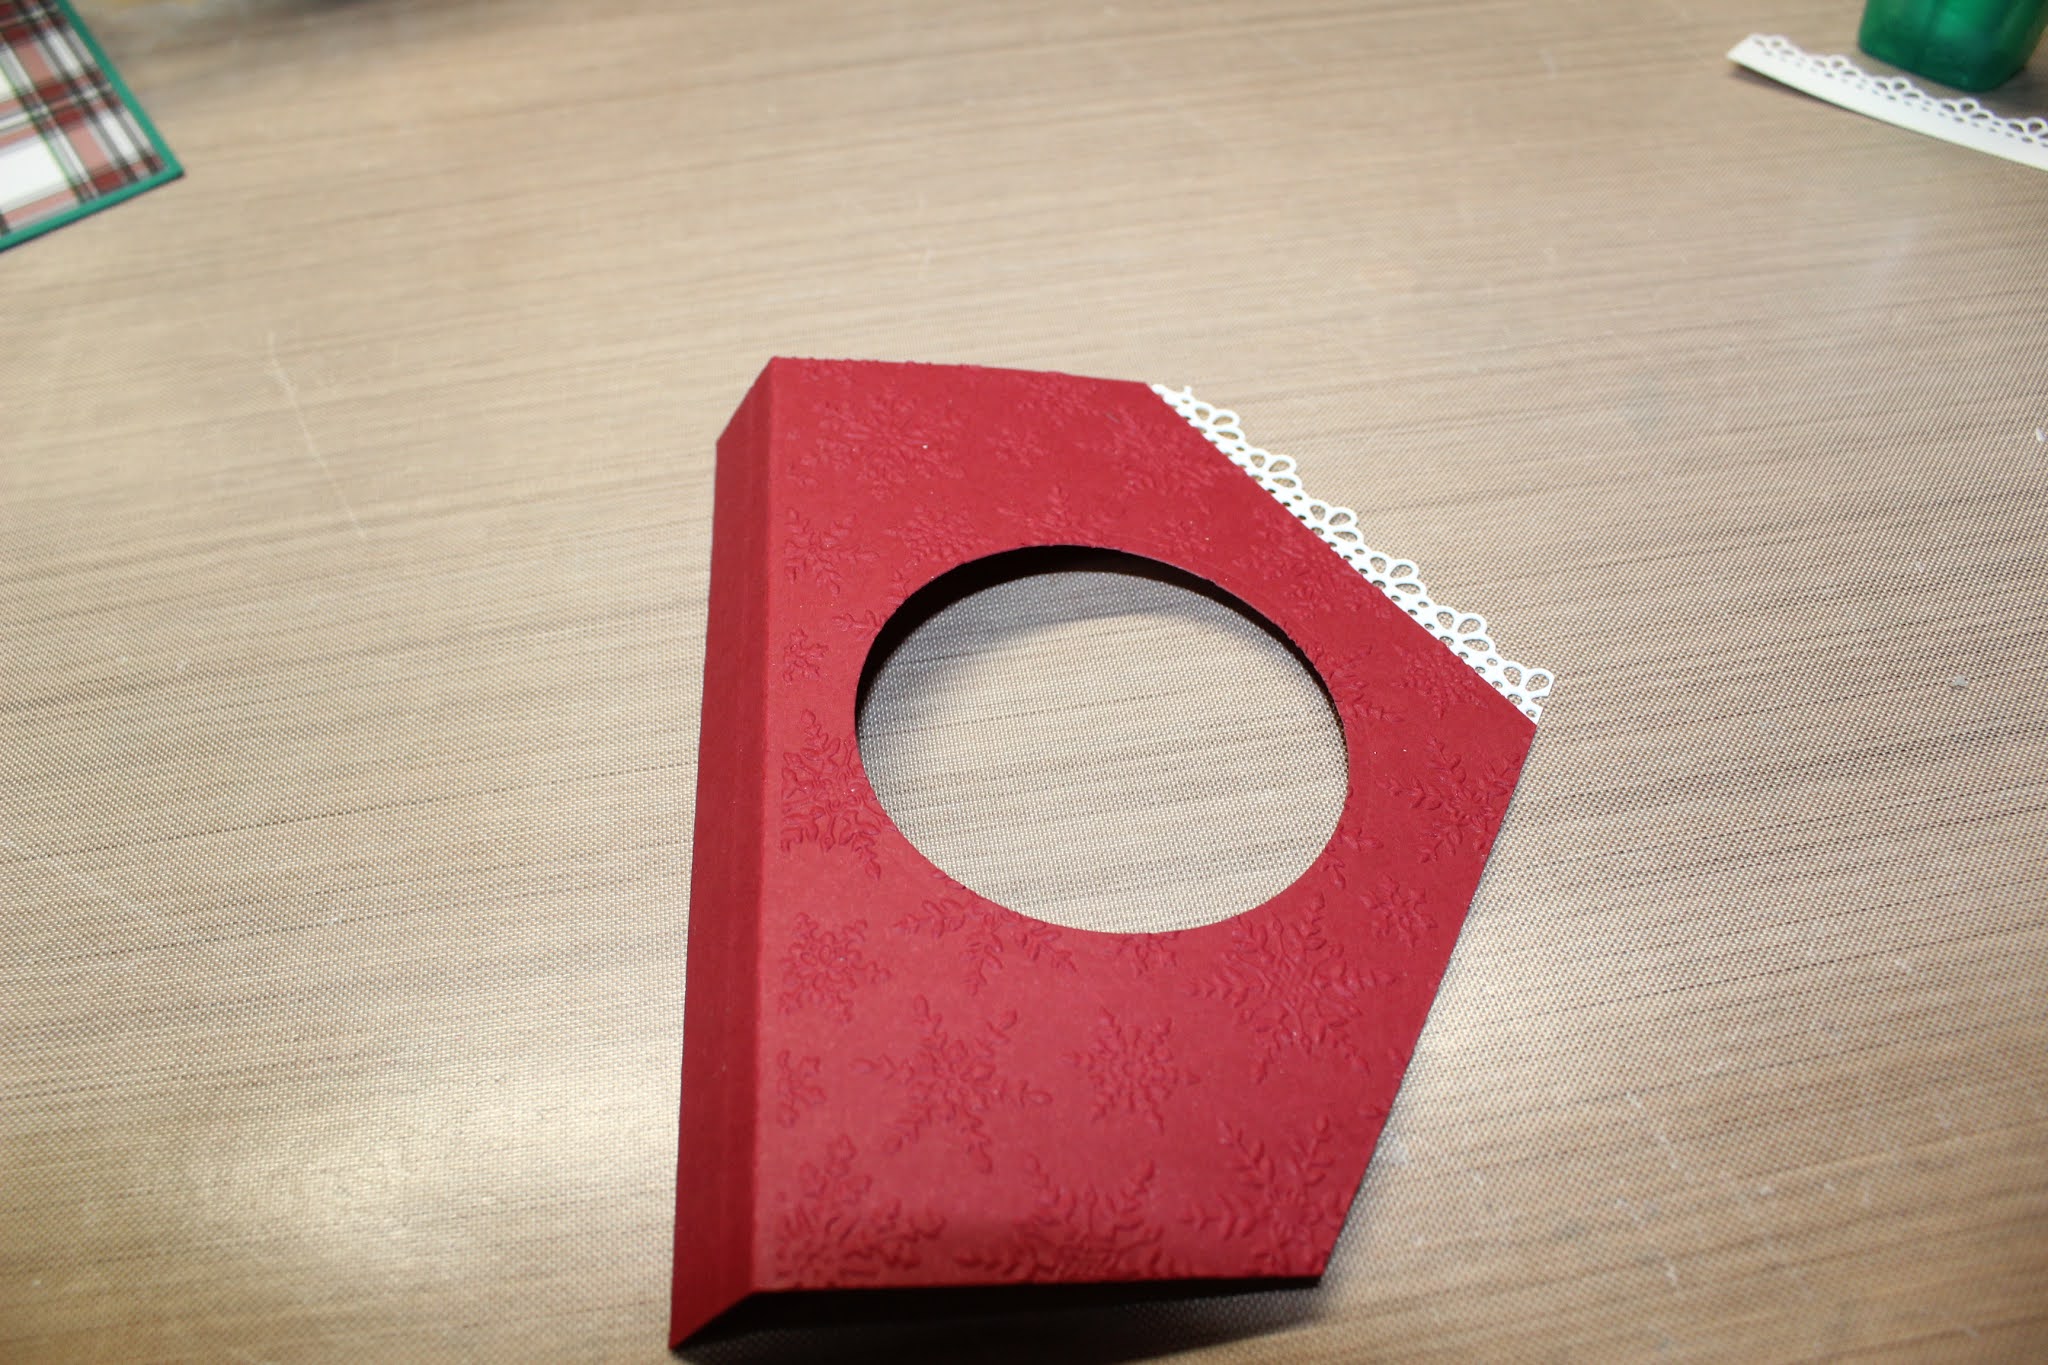
Card Base = Cherry Cobbler – 5 1/2 x 8 1/2 scored at 4 1/4
Flap = Cherry Cobbler 4 3/4 x 5 1/2 scored at 3/4 on the 5 1/2 side.
Cardstock = Shaded Spruce – 4 1/8 x 5 3/8, 2 x 3; Whisper White 4 x 4, 4 x 5 1/4, (2) 1 x 6 1/2
DSP = Plaid Tidings – 4 x 5 1/4
Instructions:
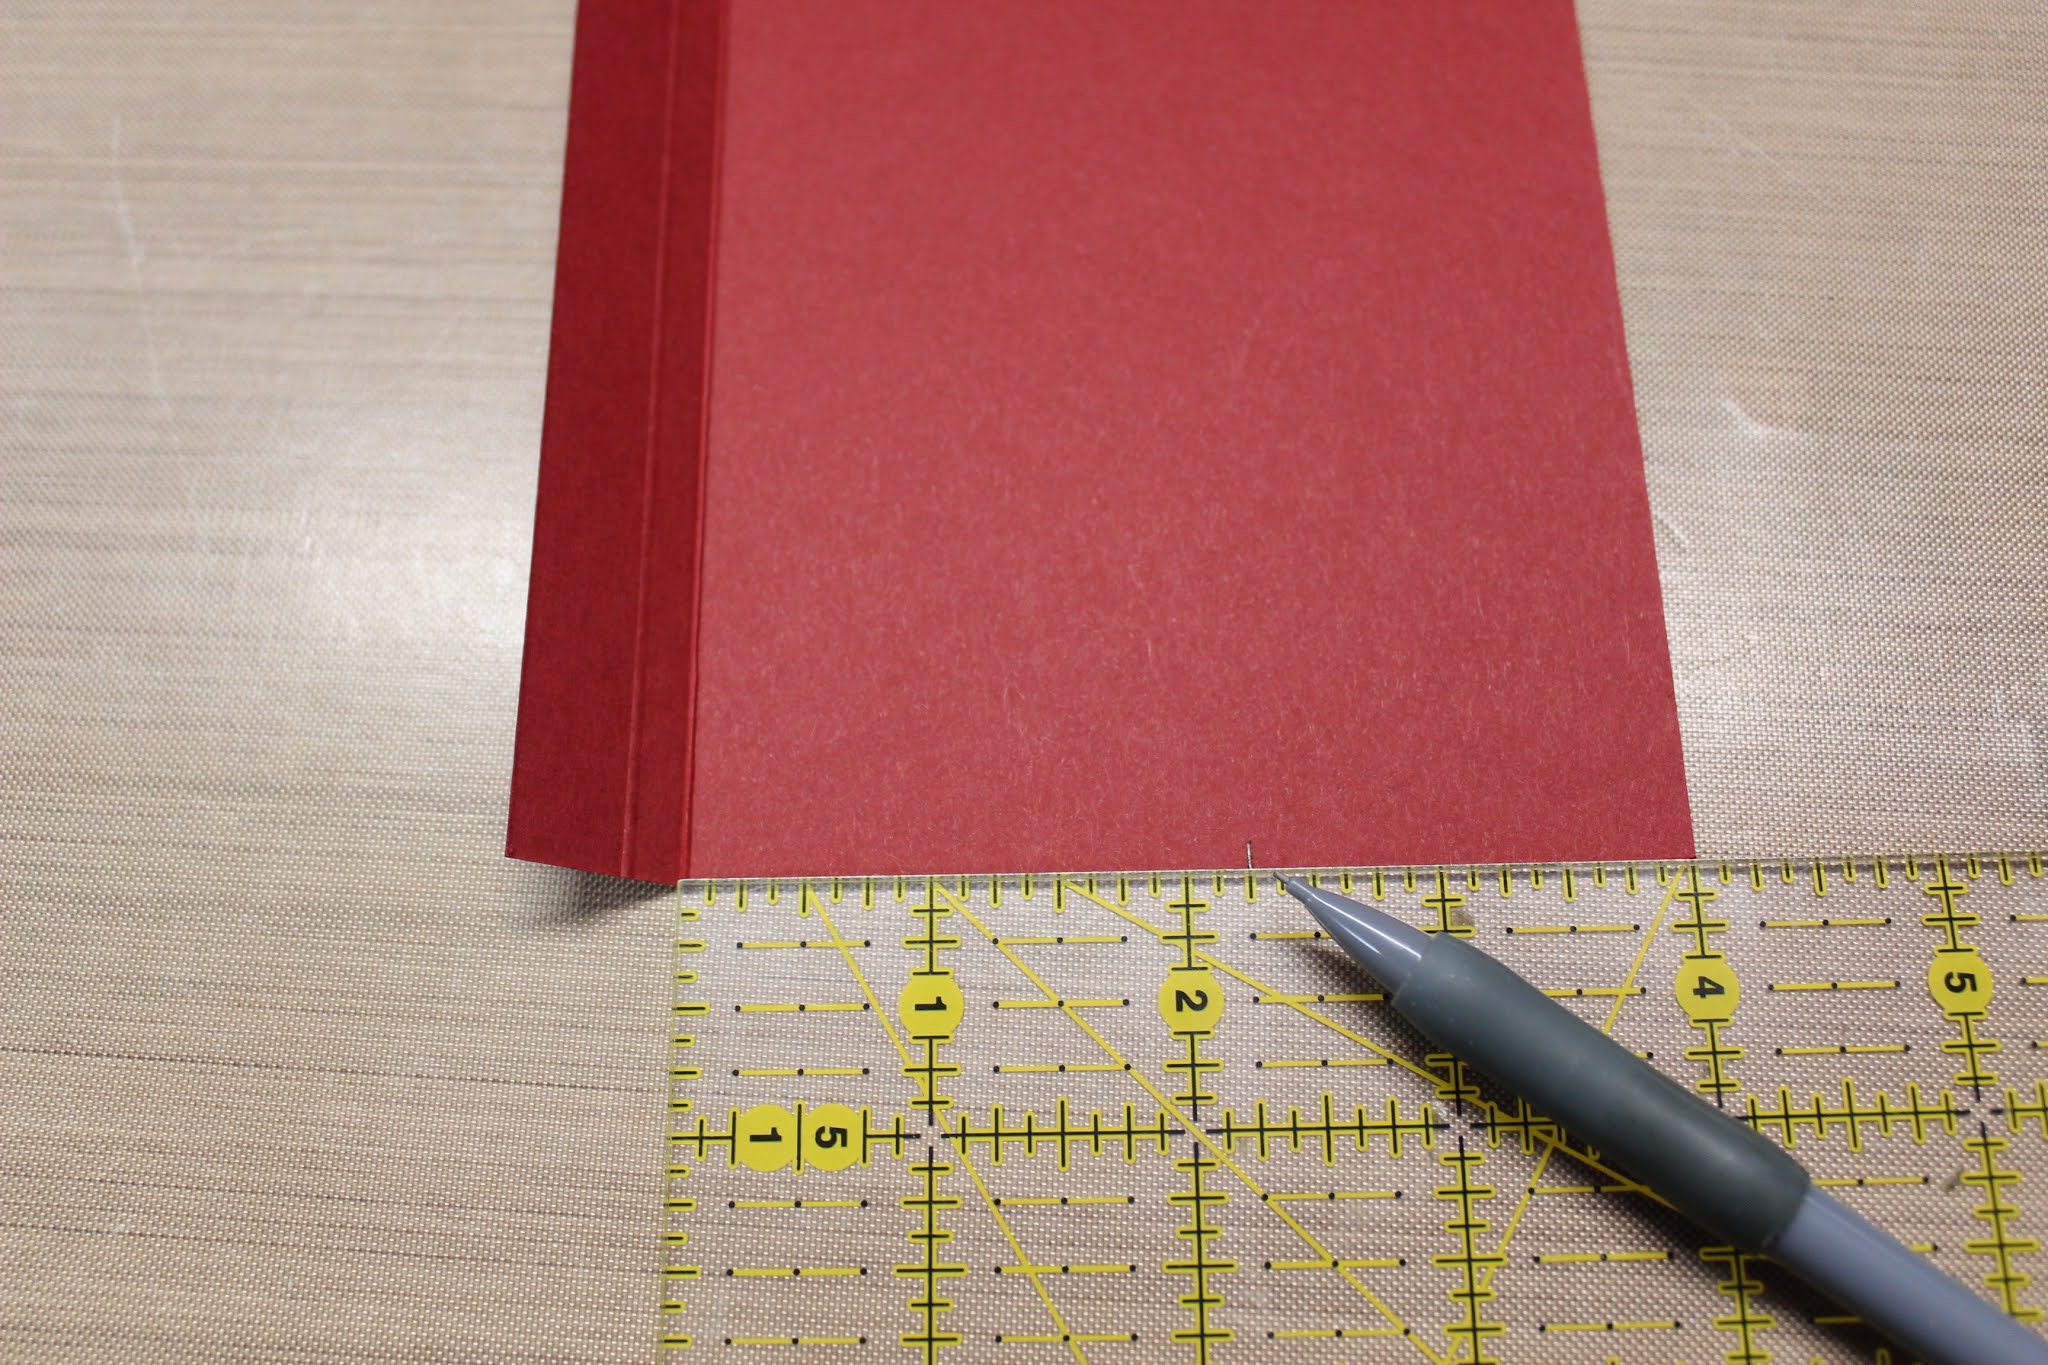
- Flap – On the 5 1/2 side score at 3/4″

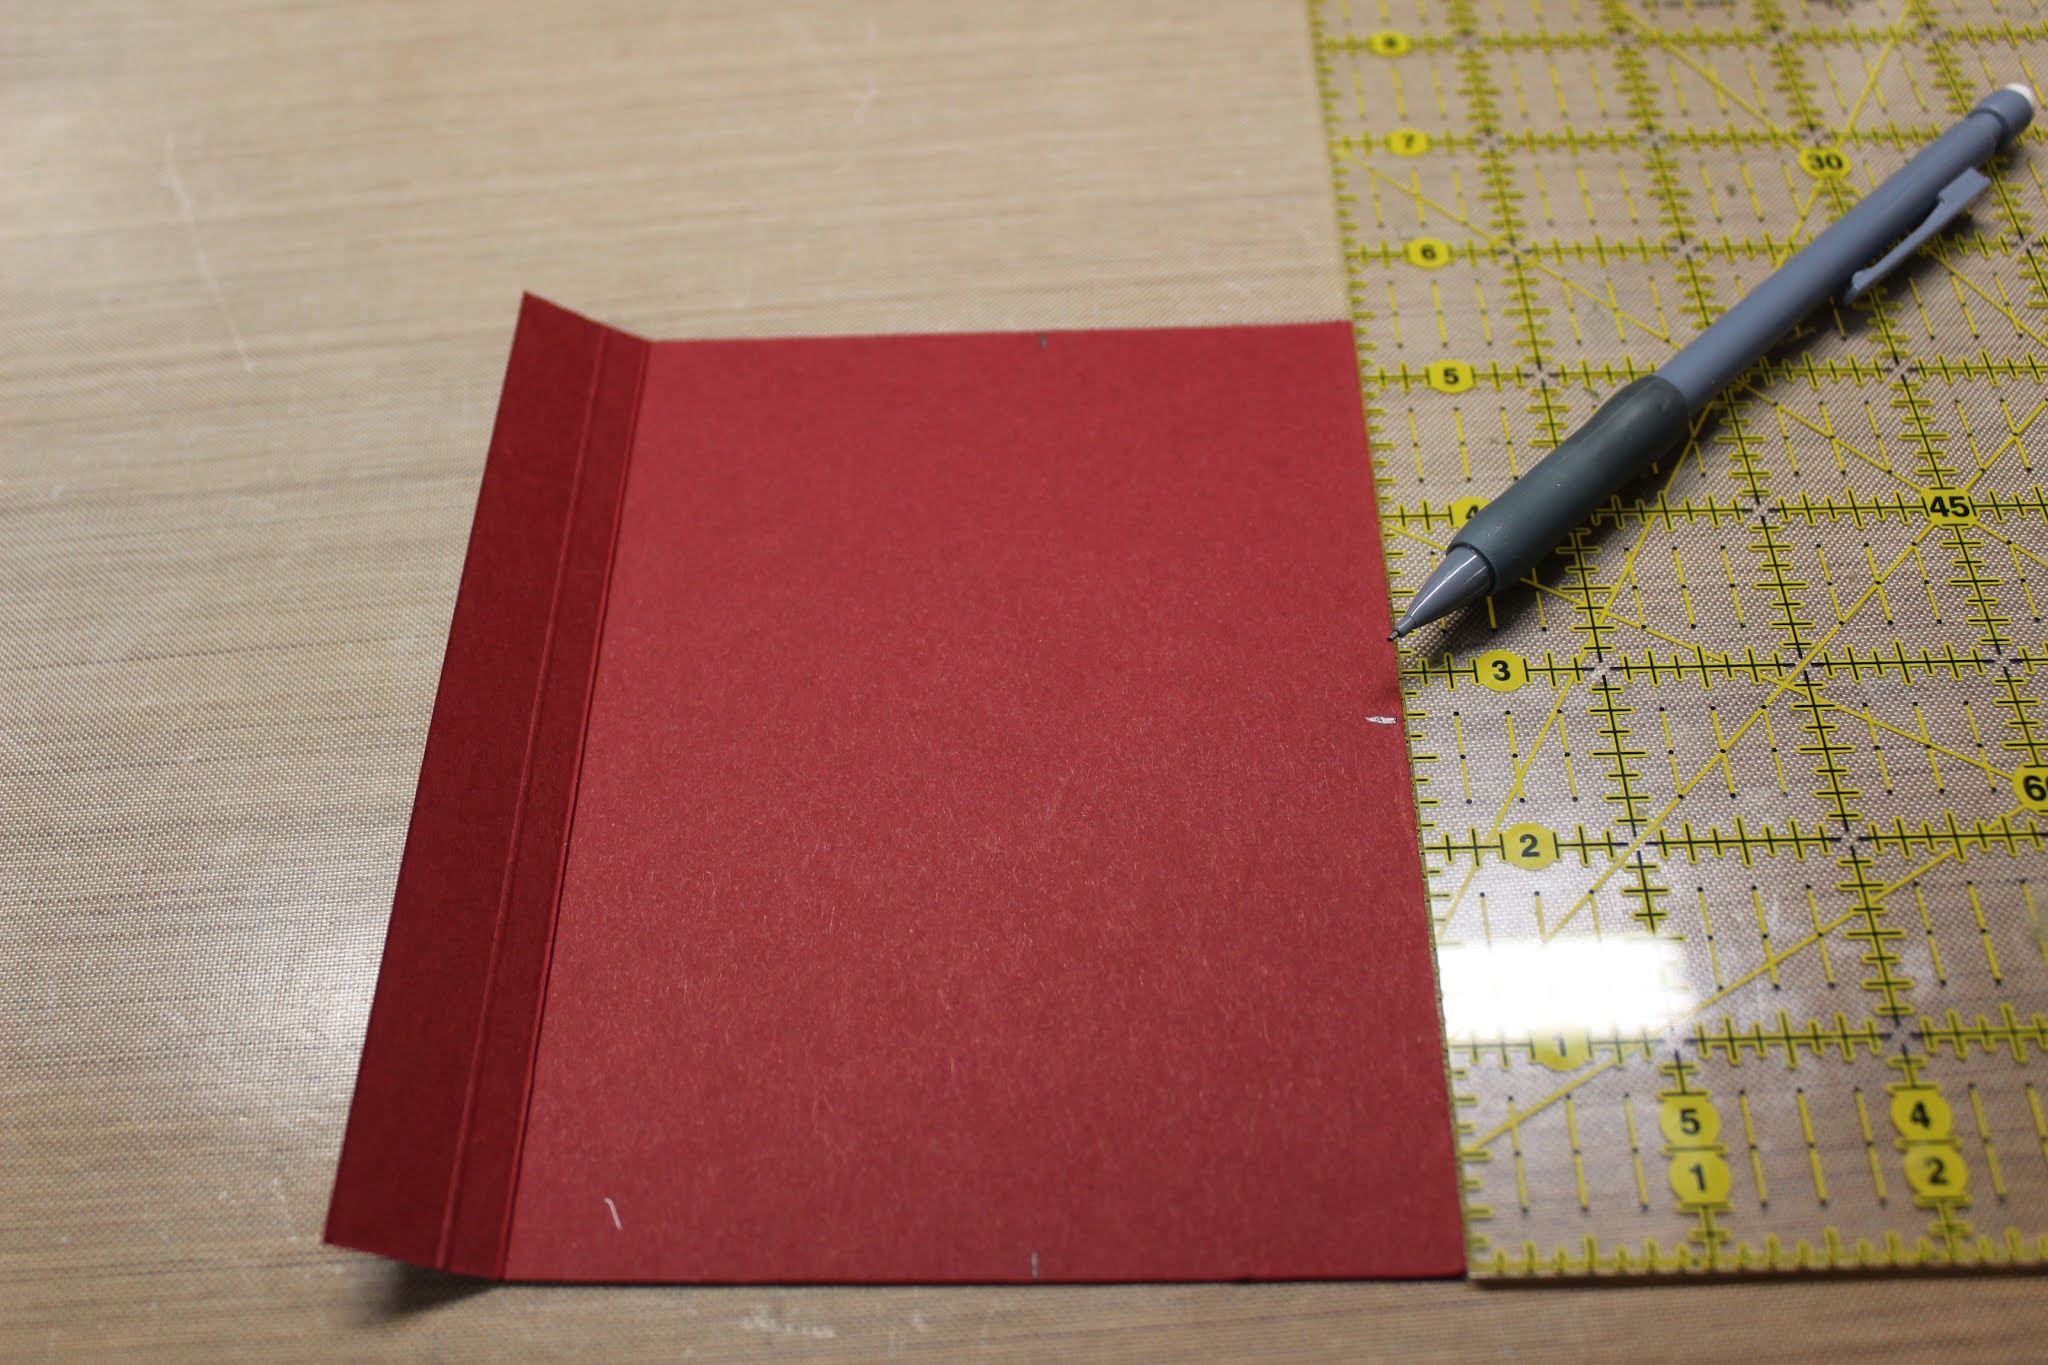


10. Place card base into the scored edge of the flap and using the flap as your guide fold closed and place the Circle Post-it note onto the DSP/matte, remove from flap, separate from card front and cut out circle with the punch.


18. Using the Ornate Border Dies cut out 2 borders from the 1 x 6 1/2 Whisper White pieces.
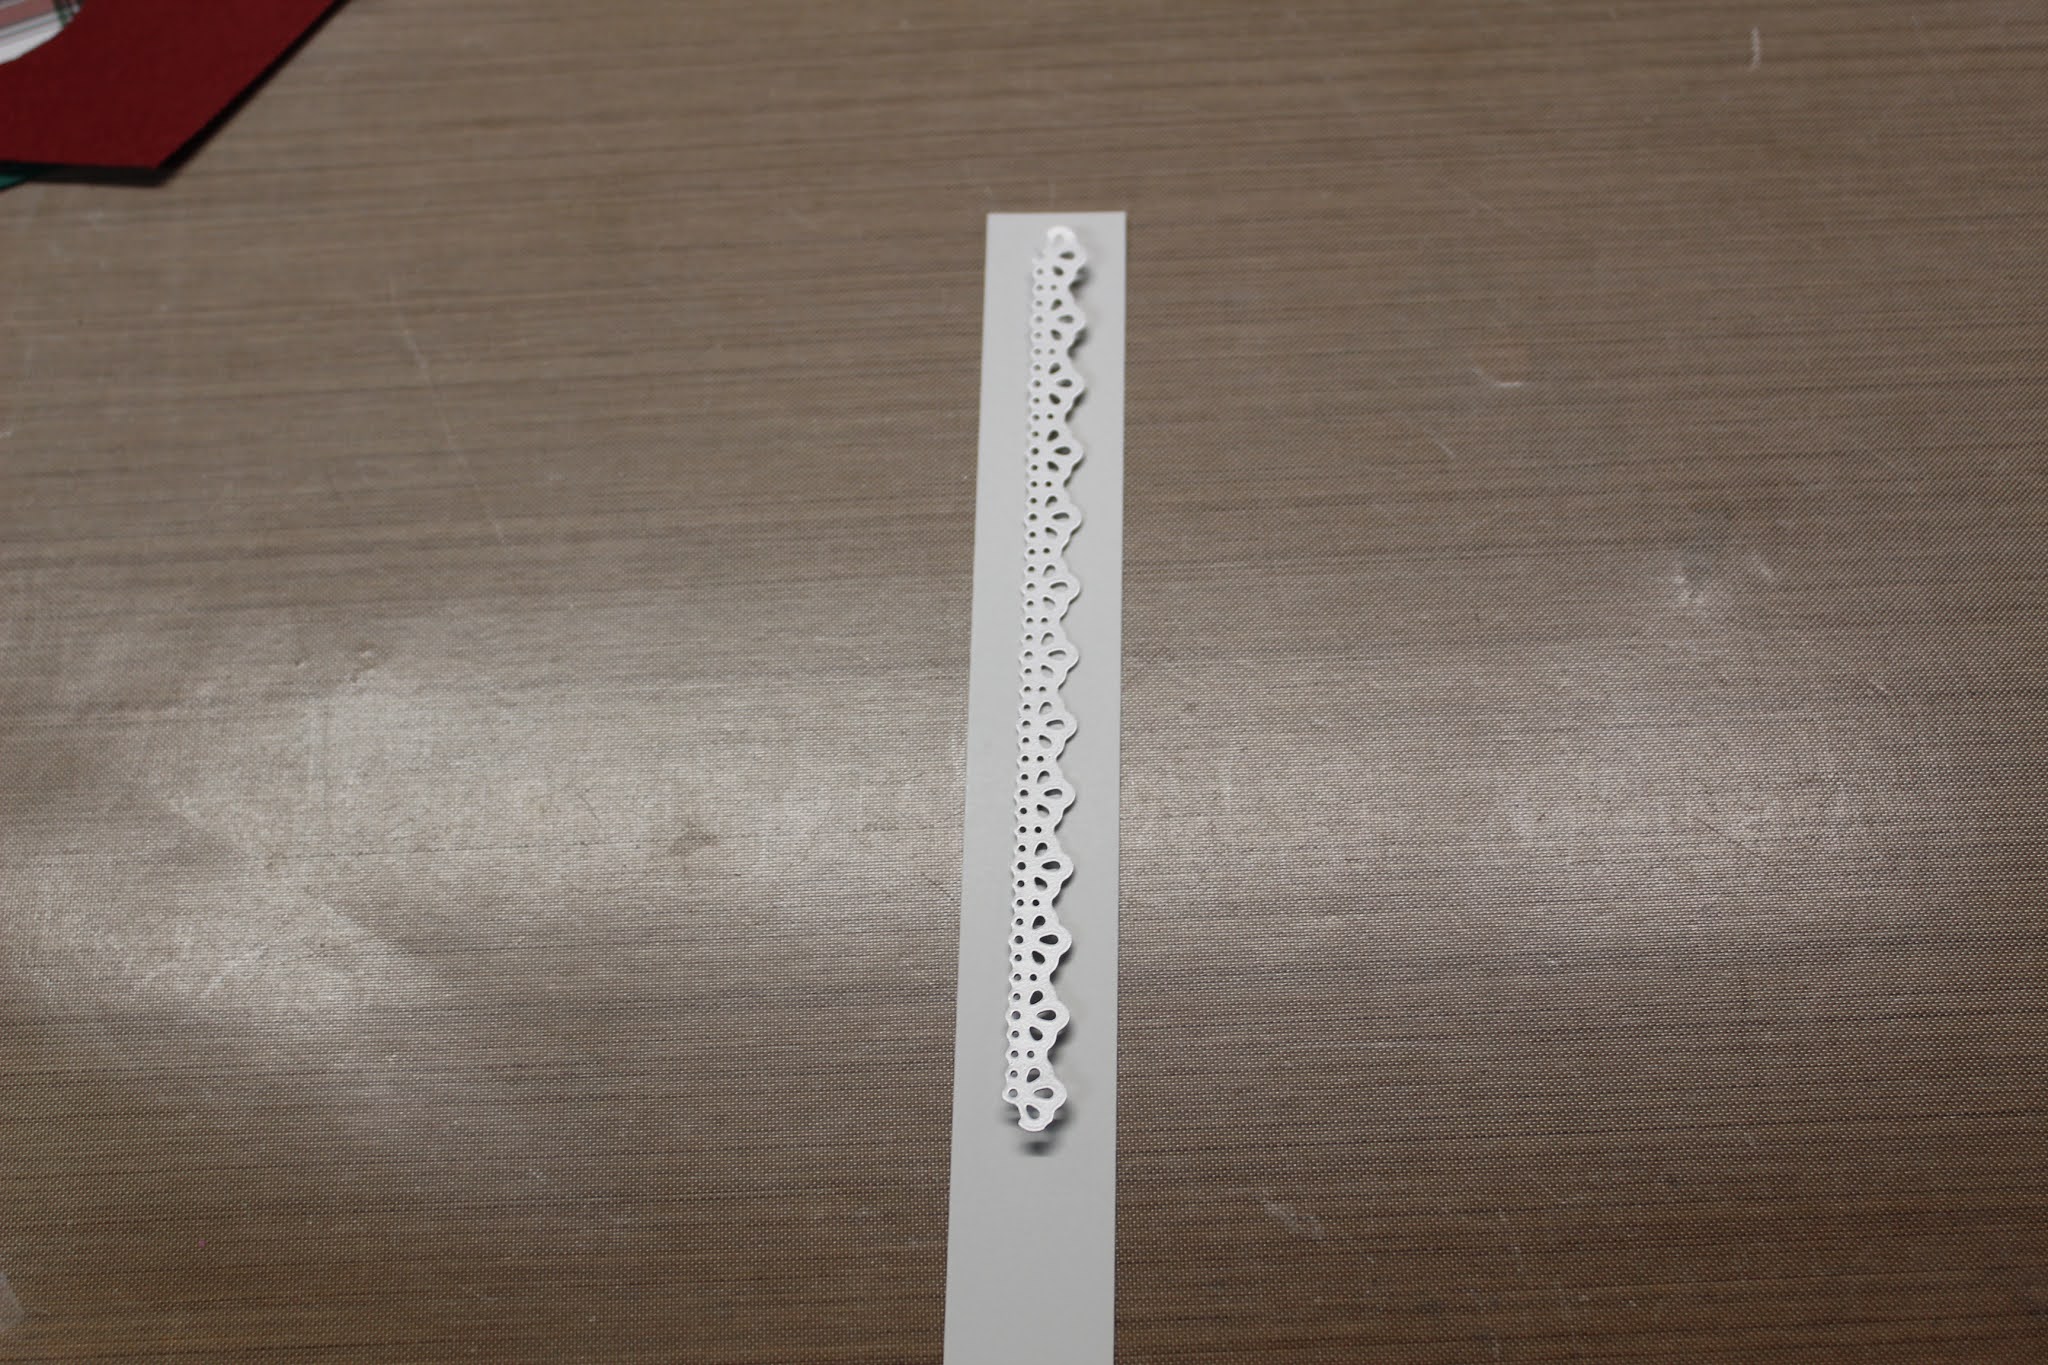
19. Adhere borders to the edge of flap one at a time as you will need to trim one before you add the next one.


20. Burnish the score line very well then adhere the flap to the back side of the card base using Tear & Tape. *****Very Important when you adhere it you need to close the card then place to the scored line and adhere******


21. Using the Layering circle dies cut out a scalloped frame using the #1 scalloped circle die and the #3 straight circle die from the 4 x 4 WW piece.

23.
Stamp the sentiment onto the WW circle that you just cut out then using the Layering Oval Dies cut out straight edge oval using # 7 die.


Whew! All done! See not so bad it just seems like a lot of steps. Such a cute card! Thanks again for stopping by my blog and I hope you jump in with both feet and try making this card! Don’t forget to let me know how it all comes out!
Product List


 Circle Punch")


 Designer Series Paper")


