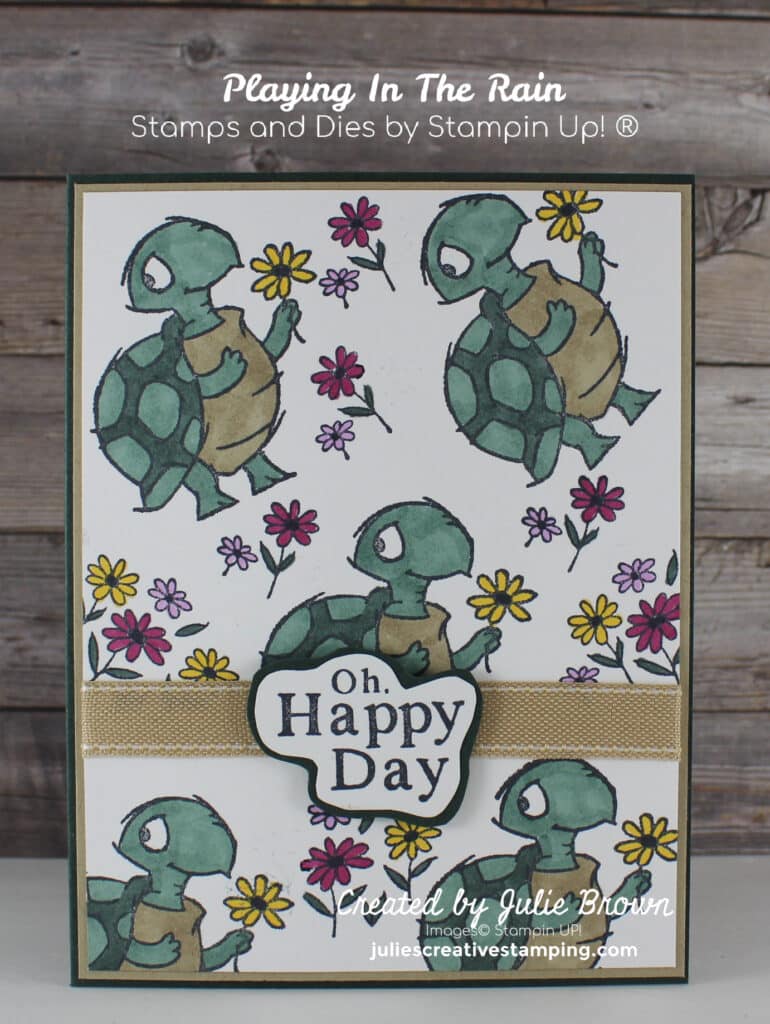
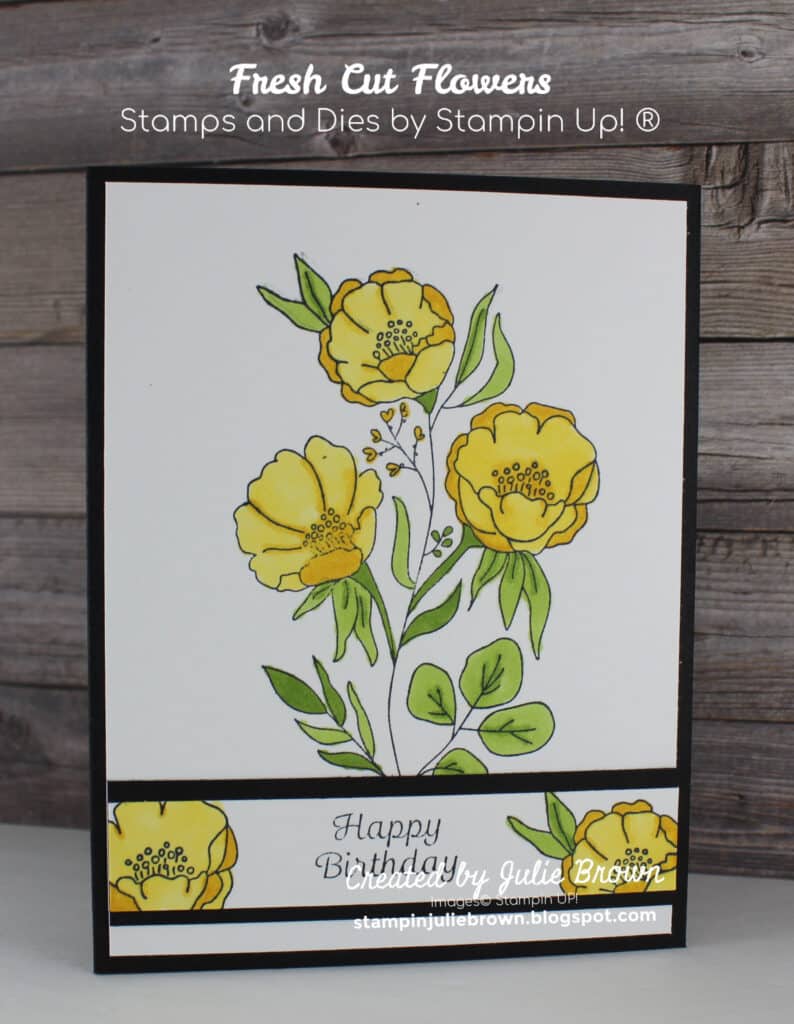
One of the first things you will learn when stamping is it takes a little practice to get it just right! As with any new talent practice makes perfect! The good news is it doesn’t take a ton of practice and once you master the technique you will be off and running in no time!
Table of Contents
Step 1 – Stamping getting it right!
One of the first things you will find when stamping is it takes a little practice to get it just right! As with any new talent practice makes perfect! The good news is it doesn’t take a ton of practice and once you learn the technique you will be off and running in no time!
When stamping it is important that when you stamp your image you go straight down, touch the paper softly then apply even pressure and bring the stamp straight back up! It’s very important to not rock your stamp when placing it down onto the paper. This will cause a shadow around your image.


Step 2 – How to stop rocking when you stamp!
So what causes us to rock our stamps? One reason is we are trying to stamp too fast.
The most common reason is we all have a dominant hand. Just like in writing or playing sports when you stamp you have a dominant hand. This means that each time you place the stamp down you will tend to lean more to one side than the other. You will notice that your image may be lighter on one side than on the other.

Left or Right
So your first step is to figure out which side is your dominant side. This is done by inking up your stamp then stamping your image. Now look at your image! Is one side lighter than the other? Is there a shadow on one side? Great, now you know which side you tend to lean towards.
Let’s practice! Stamp again and this time pay attention and try to put equal pressure on each side. Did it work? Did you get a good image? If not, practice this a couple of times until you feel like you are placing the right amount of pressure on each side! Then make sure you are slowing down when you stamp. It’s not a speed race!
Can it be the ink?
One more thing you may notice when you are stamping is that the ink seems thicker on certain sections of your stamped image. This usually has more to do with how you’re inking up your stamp than how you are stamping! Click here to see how to ink up your stamps!
The Smaller they are the more they move!
It’s important to point out that smaller stamps will have more of a tendency to rock when stamping. These are the stamps that I have noticed new and seasoned stampers getting the most shadows on! It’s really important to go slowly with them and pay attention to the pressure you are using. So just kiss it, ink it up then just barely touch the card stock, don’t push to hard.


Step 3 – Stamping sentiments!
So now we are ready to talk about sentiments and getting them straight. This is probably the hardest part of stamping when you first get started. Here are a few tricks that I have found to help me get my sentiments straight!
Helpful hints!
- Make sure the stamp is on the block straight.
- Sometimes it helps to place a sentiment stamp at an angle corner to corner on the block. It can help you focus on your placement and not rely on the bottom edge of the block for straightness.
- Use grid paper and make sure the piece you are stamping on is straight before you stamp your sentiment.
- If you’re new to stamping, give yourself plenty of room to stamp. Don’t worry about cutting down your sentiment strip to the perfect size until after you have stamped it.

Both of these methods will work! The most important thing is that you choose the one you are the most comfortable with that works the best for you!


Using a larger piece of card stock then what you need will allow you to have plenty of wiggle room for your stamping! Once you get the sentiment stamped then just cut it down to the size you want!
5. Use an easy button! One of the best tools out there is the Stamparatus by Stampin Up!
A. First it helps you learn the correct amount of pressure you need when stamping.
B. Second it helps you line up your sentiment perfect every time.
C. Third if your image is to light, you can re-ink the stamp and stamp it again without getting shadows or blurred lines
as it has perfect placement each time you stamp!


Since writing this article Stampin Up® has discontinued the Stamparatus which is a shame as it was by far in my opinion the best stamping platform available on the market.
There are other stamping platforms still on the market and I suggest that you do your homework when looking into them and get one that fits you.
I suggest that you check out Amazon and Scrapbook.com for stamping platforms!
Click here to see more stamps created with stamping alone!
Ok, so there you go! Now you’re ready to jump in, get stamping and be on your way to creating beautiful cards!


