Card making guide for everyone!
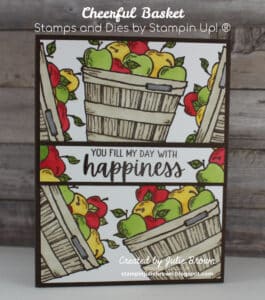
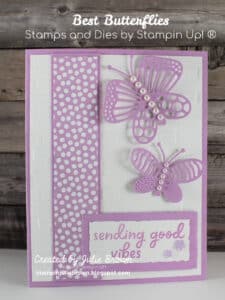
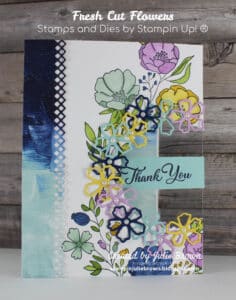
We’ve all seen or possibly received beautiful handmade cards. If you’re like me a small creative spark was ignited and you wondered if you could make one. Maybe you got excited and went out and purchased some supplies to get started but now need some help with inspiration. Maybe you wanted to try it but had no idea where to start. You were excited to try it then the negative thoughts hit your mind and that inner voice said:
- I don’t know where to start
- I’m not creative.
- I don’t have time
- It looks hard
I know that’s what happened to me and almost stopped me from discovering my hidden creativity! Luckily I attended a class that showed me how much fun creating is and taught me it’s not about perfection but progression.
Table of Contents
Uncover your creativity!
Ready to start but not sure what to do first. You’re in the right place. All of us have creativity inside of us, we just need help pulling it out! Is time an issue quick and easy cards are calling you! Think it’s too hard? The good news is card making is much simpler than it seems. Find out how easy beautiful cards are to create. If you are a collector like me and have card making supplies you can start today creating beautiful cards.
Ultimate Guide
Let’s get going and see how to overcome all those doubts. I’ve put together the Ultimate guide to cardmaking! Once you learn these tips and tricks you’ll be surprised how quickly you are the one getting compliments on the beautiful and fun cards that you have created!
Where to start:
You may have already purchased card making supplies that are sitting on your selves or in boxes asking yourself “Why did I buy that” and now your wondering what to do with all of it.
You might be just beginning and not sure what you need to get started. Either way I’m here to guide you through each step to have you making cards in no time.
In this article you’ll find information on where to start, help in selecting supplies, and where to find card ideas and inspiration to get you creating in no time.
Remember to be patient with yourself as you gain confidence and start creating you will find there are many things to learn as you move forward in your card making journey!
Step One
The first thing you need to decide is which Style of cards you want to make. This will help you determine what supplies and tools you need to make you successful.
The styles go from Simple to All the bells and whistles. Start where you are the most comfortable. Card making is a process with each card you make you will see your creativity bloom! As you get more comfortable you will find yourself dipping into each of the different styles with confidence.
Card Styles
I have split up card making into Four styles.
- Card Kits
- Simple Stamping
- Casual Cards
- Avid Cards
Each one has their benefits. The main difference is the amount of time and prep work it takes to put them together. For example Card kits all the designing has been done for you. Simple Stamping Cards are quick and easy while both Casual and Avid cards take a bit more time to put together and a few more tools. Good news is with the right tools and some effort you will be a card making rock star in no time!
Card Kits
This is a great way for new stampers to begin. If you’re that person that says “I’m not creative” this is the perfect place for you to start.
The cards are already designed and all you have to do is follow the step by step instructions inside the box.
There are many kits out there but because I am a Stampin Up® demonstrator I will be talking about their kits. They have been designed to be all inclusive. This means that everything you need to create the cards are included in the box. Big plus here as it takes the guesswork out of what to buy to get started.
What’s included:
- Clear Block
- Stamps
- Ink
- Adhesive
- Card Base
- Envelopes
- Die cuts
- Embellishments
- Step by Step Instructions
One more benefit to Kits is storage.They come in a sturdy box that can fit in small spaces. Once the cards are made they fit nicely into the box so you can store them until you are ready to give them away.
Kits are a great way to spend time with family. I do them with my grandchildren each month and they love them.
There are two ways to purchase kits through Stampin Up®. They have kits that are available through the online store and they have a monthly subscription box called Paper Pumpkin.
What is the difference?
- Online kits you can see what you will be making and you go online each time you want to purchase them.
- Paper Pumpkin are a surprise each month. You only have to set it up once and then they will be delivered each month. These are my Grandkids favorites.
Stampin Up’s® kits have been designed to make both cards and crafts. So if you want to change it up you can choose to do a craft kit.
Simple Stamping
Simple stamping is a style that uses the least amount of products. You need a stamp set, card stock and ink. If you’re new to stamping this might be a good place for you to start. To get started you will need:
- At least one Stamp set with both images and sentiments. This is the funniest part picking out your stamp set.
- Card stock in a variety of colors.
- One of the neat things about Stampin Up® card stock is that it comes in color families that helps take the guesswork out of coordinating colors. If you already have a ton of cardstock then use what you have.
- Ink
- Start with Black Memento ink and your favorite colors
- If you are using Stampin Up cardstock, their inks coordinate with their cardstock.
- If you have already purchased ink then you are good to go.
Let’s make a card!
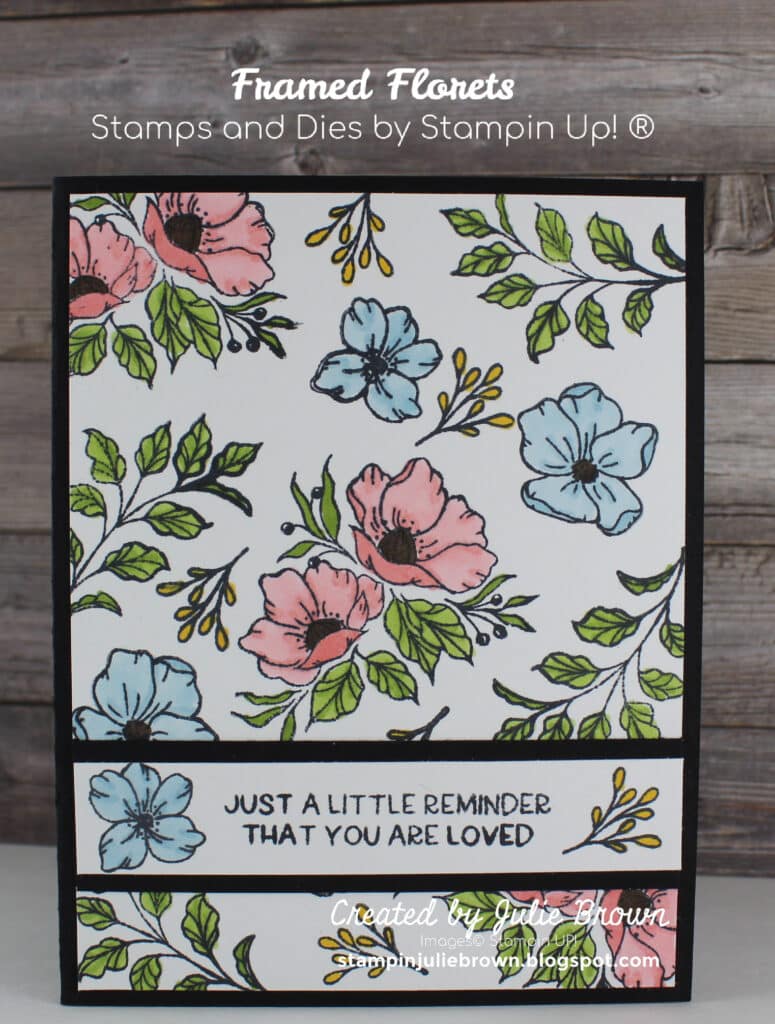
This is where most of us become a little uncertain. We lack faith in our ability to design cards. The great thing about Simple Stamping is it’s pretty easy to create a design you like. Here are some examples of how you can create a card.
- Background – This is my favorite way of designing with Simple Stamping. I use several stamps from the set and stamp each one several times onto a piece of white cardstock in different colors and create my own background. Then I stamp the sentiment onto a strip of card stock and place it across the card front and I’m done!

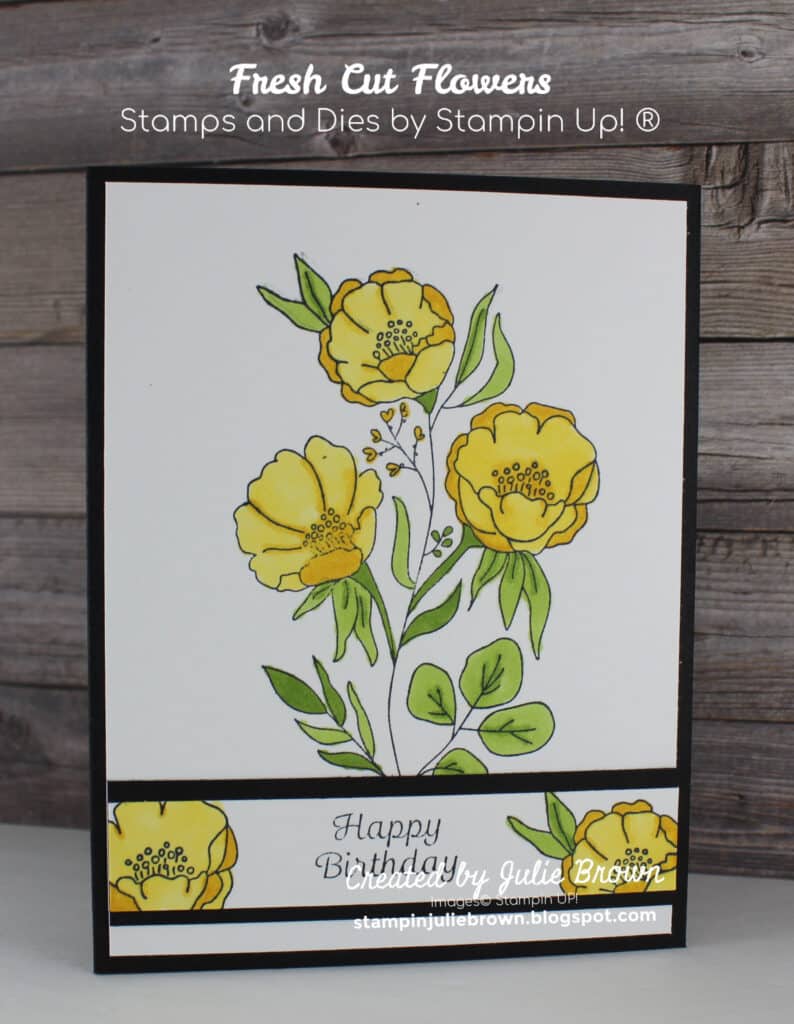
- Focus Image – Another way to design a card is to pick a focus image from your stamp set and stamp it onto a white card front. Then mat a sentiment strip and place across image. You can also create a scene with your stamp set.

- Layering Cardstock – For this one you will still have a focus image stamped as above. You will layer cardstock onto the card front as desired then add your focus image.

These are just three ways to design and create Simple Stamping Cards. You can step each of these up by simply adding embellishments such as rhinestones, pearls or ribbon.

If this is a style you’d like to try make sure to check out my samples of Simple Stamping found here:
Casual Cards
Casual Cards are just a step up from Simple Stamping. What makes the difference is you add in more product.
Here are the products you can add to step it up:
- Designer Series Paper
- Ribbon & Embellishments
- Punches
- Die Cuts
- Embossing Folders
Casual Cards can often go together quicker than Simple Stamping cards. When you bring in more product it can cut down the time it takes to put your card together.
For Casual Cards you will want to find Stamp Sets that have either a punch or Die set that will cut out some of the stamped images. We call this a bundle. I also call these easy buttons because no more fussy cutting with bundles, the dies and punches do all the work.
A good way to add more interest to your card is with dimension. This can be done by using Dimensionals to pop up elements of your card.


Click here for Casual Card instructions!
Avid Cards
Avid Cards are the cards with all the bells and whistles. They have everything: stamps, card stock, designer series paper, specialty paper, embellishments, embossing folders, die cuts and labels.
Avid Cards combine several techniques to give these cards a special finish. Common techniques used are heat embossing, blending, watercoloring, masking and embossing paste.
Click here to learn about these techniques.
These cards usually have lots of layers. It’s a way for you to build dimension.
They can also be what we call fun fold cards. Cards that are designed in such a way that they fold in fun ways to make a unique look.
Avid Cards can seem intimidating at first but once you get the hang of it you will be creating them in no time. A good way to get started with Avid Cards is to find directions to a card you like and remake it. You can find Avid Card instructions here:


Click here for Avid Card Instructions!
It’s all about the tools
No matter which style of card you are creating, having the right equipment can help the process go smoothly and ensure your success. There are some tools that you will use on a consistent basis, then there are tools that are great to have because they make card making easier. Remember you can get started if you do not have all the items on these lists. Mark off what you already have and use the rest of the list as a wish list that you can add over time.
For Simple Stamping you will want to consider List 1!
List 1 – Top Ten Tools to get you started.
- A good pair of Paper snips
- Paper trimmer
- Clear blocks
- Cleaning shammy
- Bone folder
- Take your pick tool
- Adhesive
- Stamparatus
- Scoring Tool
- Silicone Craft Sheet
Note: I have added different types of adhesive as everyone has their favorite so I wanted to show a few of the different types of adhesive!
Now lets talk Tools and products for Casual and Avid Cards. These are the tools you will want to add to your tool kit to make card making a breeze!
List 2 – Top Ten Easy Button Tools
- Die Cutting Machine
- Blending Brushes
- Sponge Daubers
- Heat Tool
- Embossing Tool Kit
- Embossing Powder
- Platte Knives
- Embossing Paste
- Adhesive Sheets
- A Stampin Up Demonstrator

Click here for more detailed information on all the suggested tools! (coming soon)
So now that we have covered the different styles of card making and the tools that go with them, it’s time for you to get started. Pick a style to start with and go for it.
Design Time!
Whether you are an old hat at card making or just getting started one of the things you will need is where to find inspiration! Here are a few area’s to help you bring out your creativity.
- Card Classes
- Attend either an in person or online card class.
- Classes will afford you the ability to practice your stamping, learn techniques and give you ideas for future cards.
- Pinterest
- Check out the cards I have added to my pinterest page.
- Seeing the finished cards lets you see some fun color combinations that you may not have thought about.
- Pinterest Link Here:
- You Tube
- You will love you tube as I walk you step by step on putting the cards together.
- You can make your card right along with me at your own pace.
- You Tube Channel Here:
- PDF’s
- A PDF is a tutorial with pictures, card cuts and instructions put together to help you make cards. There is usually a small fee for PDF’s. They are designed for you to be able to print off and add to your card making library.
- Link to PDF’s (coming soon)
- Blogs
- My blog also has card making instructions with pictures but are not available for printing.
- They are put into card categories such as “Birthday Cards”, “Thank You” etc.,
- Search card categories Here
- Newsletter
- Sign up for my monthly newsletter and receive a list of upcoming classes and card making ideas and techniques.
- Sketches
- Sketches will help you on your way to creating your own cards.
- Sketches can be a good way to help you with the layout of your cards.
- Some of them will show you the cut sizes for each layer while others just show the layout design.
- The great thing about sketches is one sketch can turn into several different looks by simply changing the stamps, designer series paper, card stock and placement of layers.
- There are both paid and free sketches available. Here is a link to my favorite sketches.
