A. Onto the 4 x 5 1/4 Basic White piece stamp the sentiment in Rich Razzleberry ink.
B. Wipe Embossing Buddy across the 1 x 5 1/4 So Saffron piece then using Versamark ink stamp the sentiment about 1/2″ from left side. Cover with White Embossing powder, shake off excess powder then heat up with heat tool.
Die Cutting:
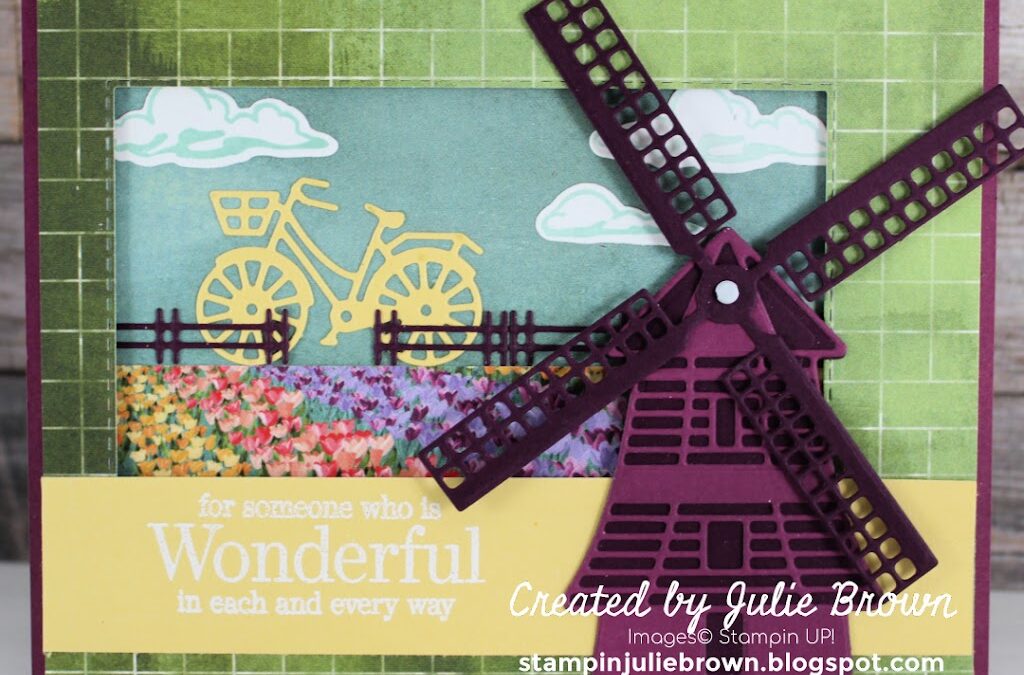
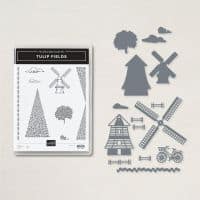
3. Using the Windmill Fields Dies cut the following:
A. Apply Adhesive sheets to the back of the 1/2 x 5 1/2 Blackberry bliss piece then cut out several fence pieces.
B. Apply Adhesive sheets to the back of the 2 x 2 So Saffron piece then cut out the bicycle.
C. From the 2 x 3 Rich Razzleberry piece cut out the detailed Windmill.
D. From the 4 x 5 1/2 piece cut out both the Sold windmill and the Windmill blades.
E. Cut out the clouds that you stamped in step #1.
F. From the 1 x 5 1/4 So Saffron piece cut out the border tulip die.
4. Using the #5 Stitched Rectangle dies (or 4th from the largest) cut out a window from the 4 x 5 1/4 DSP piece. NOTE: You want to place the die about 1/2″ from top edge and 3/4″ from right edge.
Assemble:
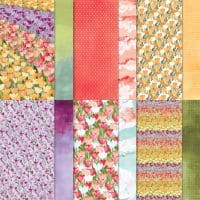
5. Adhere the 1 3/4 x 5 1/4 (Tulips) DSP to the bottom edge of the DSP sheet that has the look of sky.
6. Remove the adhesive strip from the back of the bicycle then adhere the Die cut Bicycle flush to the top edge of the Tulip DSP about 7/8″ from left side.
7. Remove the adhesive strip from the back of the fences then adhere them flush to the Tulip DSP overlapping the Bike but leaving an opening as shown.
8. Adhere the clouds as desired.
9. Using Dimensionals adhere the DSP window piece over the scene piece.
10. Adhere both to the card front.
11. Adhere the detailed windmill to the solid windmill.
12. Using a push pin and cork board, make hole in the top of the windmill where the small circle is. Then attach windmill blades with small white brad. (Note: do not tighten down all the way – you want the blades to move)
13. Adhere the sentiment strip across the bottom of the window about 1/8″ from bottom edge of DSP.
14. Adhere windmill as shown.
15. Adhere the So Saffron Tulip border to the bottom of the stamped 4 x 5 1/4 Basic White piece.
16. Then adhere to the inside of the card.
There you go a new look to a cased card! Hope you will try out this casing idea and see how you can change up a layout!
Supply List: If you’d like to order just click on any of the pictures below!
Product List

