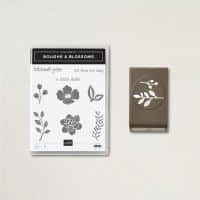
So Grateful that you have stopped into my blog today! I am still trying to showcase products from the Jan-June 2022 Mini Catalog by Stampin Up® that will be retiring on June 30th. It’s always sad when they retire stamp set especially ones that you really like. This has been one of my favorites in the mini catalog. Make sure to search this blog for all the other cards I designed with this stamp set! I did not use the punch on this one which is part of the bundle that goes with this stamp set but I do have other cards on this blog showing them together!
This card goes together pretty quick and the stamping and embossing is not hard either. I would consider this a quick and easy card! Below you will find the card cuts, instructions and supply list for this card! Hope you like it! I’d love to hear your comments just add them below!
Card Cuts:
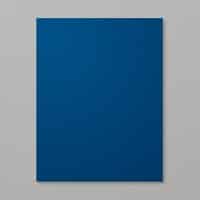
Card Base – Night of Navy = 5 1/2 x 8 1/2 scored at 4 1/4
Card stock – Basic White = 4 x 5 1/4; 4 1/8 x 5 3/8 ; 2 7/8 x 4 3/8; 2 5/8 x 4 1/8
-Night of Navy = 4 x 5 1/4; 2 3/4 x 4 1/4
Instructions:
Stamping:
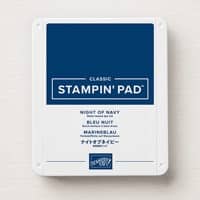
1. Using Night of Navy ink stamp the following:
A. Sentiment from the Celebrating You Stamp Set onto the center of the 2 5/8 x 4 1/8 Basic White Piece.
B. Several flowers and leaves around the sentiment, stamping some fully on the sheet and some stamping off the sheet.
C. In the bottom right hand corner of the 4 x 5 1/4 Basic White piece stamp some flowers and leaves as shown. Then stamp sentiment as shown.
D. Wipe a embossing buddy across the 4 x 5 1/4 Night of Navy piece then:
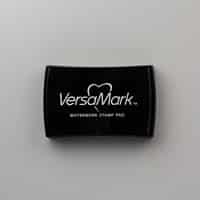
**Stamp flowers and leaves along the outside edges using Versa Mark ink – Note: It is hard to see where you have already stamped so take your time and use good lighting.
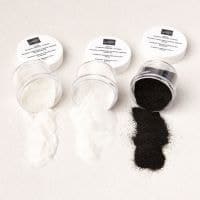
**Cover with White Embossing Powder, wipe off excess then heat up with heat tool!
Assemble:
2. Adhere the 4 1/8 x 5 3/8 Basic White piece to the card front.
3. Adhere the stamped and embossed Night of Navy piece to the card front.
4. Adhere the 2 7/8 x 4 3/8 Basic White piece to the center of the card front onto the last piece.
5. Adhere the 2 3/4 x 4 1/4 Night of Navy piece to the card front onto the last piece.
6. Adhere the Basic White piece that you stamped earlier onto the last piece you just placed.
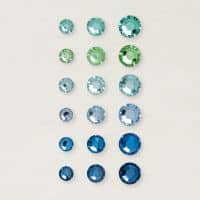
7. Apply Rhinestone Waves Basic Jewels to card front as desired. (Note: if you do not have these you can use blends to color in the Basic Rhinestones)
8. Adhere the 4 x 5 1/4 Basic White piece that you stamped to the inside of the card.
All done! See it’s fast!
Hope you like it and will try making one!
Supply List: Note – to order just click on any of the pictures below to be taken to my online Stampin Up® site:
Product List


